My favorite cupcakes I have ever made! So light and fluffy, and lots of guava flavor in the topping.
*Update: These turned out even better the second time. I used more food coloring to get a richer color, and wasn't guessing so much on the baking time.*
I had so much trouble finding a guava cupcake recipe that resembled the guava cakes I have had in the past, with the signature bright pink guava topping, that I took a couple of guava chiffon cake recipes and adapted them to suite my needs.
These were for Valentine's day, hence the heart theme, but it would be much easier to pipe the buttercream like a usual cupcake, and then drizzle the guava topping over it. For the adventurous, I will describe how I got the heart shapes.
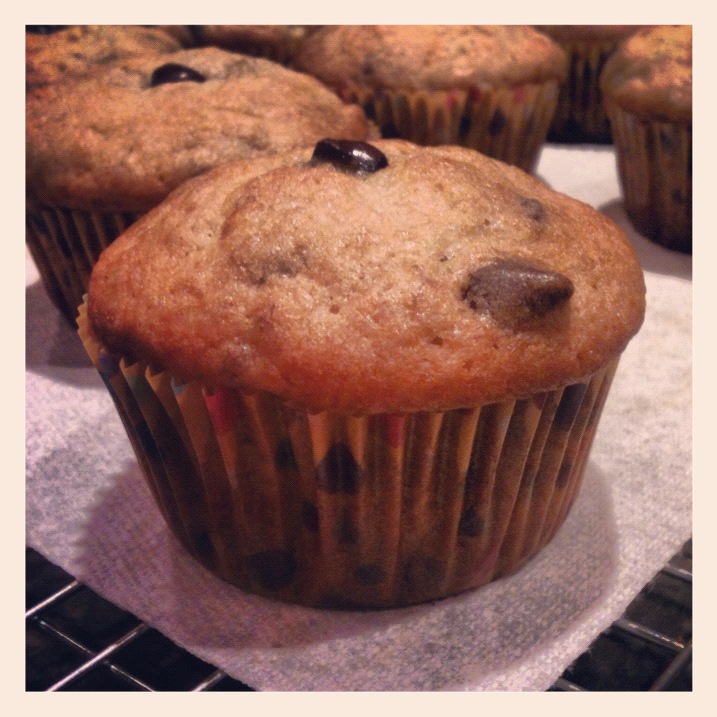
These may take a little work, but these were seriously my favorite cupcakes I have ever made! Definitely best to eat the day of. Kept fine in the fridge for several days, but upon getting to room temperature some of the guava filling managed to break through the dam of buttercream, resulting in some sticky fingers, haha! I think drizzling the guava topping as I mentioned earlier would help to get rid of this problem. (This is what I did the second time around, hence the first picture!)
I couldn't find guava concentrate to save my life, so I used guava juice instead. If you can find guava concentrate, go with that for even more guava flavor!
DO NOT simply spread frosting onto these cupcakes, as they are very delicate and crumbs come up easily. Piping is very much the recommended frosting technique.
Guava Chiffon Cupcakes
Adapted from I'll Have What They're Having-Legendary Local Cuisine by Linda Stradley
Makes 26-28 cupcakes
- 2 1/4 cups cake flour
- 1 1/4 cups sugar, divided
- 1 tablespoon baking powder
- 1 teaspoon salt
- 1/2 cup vegetable oil
- 1 cup guava juice
- 5 egg yolks, slightly beaten
- red food coloring (optional)
- 8 egg whites, room temperature
- 3/4 teaspoon cream of tartar
~Preheat oven to 325 °F. Prepare muffin tins with cupcake liners.
~In an extra large bowl, sift together the cake flour, 3/4 cup of the sugar, baking powder, and salt. Add the vegetable oil, guava juice, egg yolks, and food coloring if desired. (Keep in mind you will be folding in egg whites, so make the color slightly darker than desired) Beat just until smooth.
~In a large bowl beat the egg whites and cream of tartar until soft peaks form. Add the remaining 1/2 cup of the sugar 1 tablespoon at a time, and continue beating until stiffer peaks form.
~Gently fold 1/3 of the egg white mixture into the prepared batter. (This helps to ensure that the rest of the egg white mixture won't deflate as much) Once just incorporated, fold in the remaining egg white mixture until again just incorporated.
~Fill your prepared muffin liners nearly to the top, at least 4/5 full. (This batter does not raise very much while baking, so if you want that classic cupcake shape this is necessary) Bake for 13-15 minutes*, or until a toothpick inserted into the center comes out clean.
*Because I was guessing on the baking time, I raised the temperature to 335 °F after 10 minutes of baking to help set up the cupcakes a little more, as I was worried opening the oven too early to check would deflate the cupcakes. Also, do not be afraid if your toothpick comes out wet after 13 minutes. This batter sets up quickly, so just give it a few more minutes. I had some done at 13, and others that needed the full 15.
~Cool in the pan for 5 minutes, then remove to a wire rack and cool completely. Guava buttercream frosting and guava topping recipe below!
Guava Buttercream Frosting
Adapted from a C&H Recipe
Frosts 10-12 cupcakes (double for this recipe)
- 1 lb. box powdered sugar
- 1/4 teaspoon salt
- 1/4 cup guava juice (guava concentrate, if you can find it, will give a less subtle guava flavor)
- 1 teaspoon vanilla extract
- 1/3 cup butter (2/3 stick), room temp.
~Mix together salt, guava juice, vanilla extract, and butter with a heavy spoon or mixer. Add in powdered sugar in intervals.
~If frosting is too stiff, add more guava juice a few drops at a time. If too soft, try refrigerating your frosting for half an hour. If still too soft, add in more powdered sugar a teaspoon at a time.
Guava Topping
Adapted from Kuki's Kookbook
http://kukikookbook.blogspot.com/2010/04/guava-cake.html
Tops 26-28 cupcakes
- 2 cups guava juice
- 1/3 cup powdered sugar (normal sugar fine, but you may need more corn starch as a result)
- 1/4 cup corn starch
- red food coloring
~In a medium saucepan, bring the guava juice and sugar to a boil. Reduce heat to low, and whisk in the cornstarch. Add desired food coloring amount at this point.
~Stir over low heat until mixture thickens and will coat a spoon. Add more sugar to taste if needed, but be careful tasting as it will be hot. Remove from heat and let cool. If too runny, return to heat and add more cornstarch or powdered sugar. If too thick, return to heat and add more guava juice. If the cornstarch is clumping on you, whisk the hell out of it and you should be fine!
~Keep in mind if drizzling the guava topping you will want it slightly more runny than if you are pooling it in the center.
~Now for the fun part! Pipe the prepared frosting onto each cupcake, finishing with a drizzle of the guava topping. Details for the more intricate technique are below. Either way you choose, make sure you take time to enjoy one of your amazing cupcakes!
Heart Cupcake Assembly
- Cooled Cupcakes
- Guava Buttercream
- Guava Topping
- 1-2 tablespoons guava juice
~Set aside about an eighth of your frosting, and use the rest for piping. We will return to the other bit of frosting in a moment.
~To pipe the heart shapes that I did, start at the top center of the heart, and working around the cupcake in a heart shape, pipe a thick line of frosting. We are just doing the outline here! If done correctly, you will meet back with where you started, at the lowest point of the top of the heart. Keep in mind your line of frosting must be thick enough to dam in the guava topping.
~Once you return to the top center, rather than lifting up right away, pipe for a moment to ensure the ends meet, then continue piping in a line towards the top of the cupcake, pipe for another moment, then lift. I found this gave the cleanest lines to the heart, as it covered up my starting point, and I liked the bow-like quality.
~I recommend doing a deep set heart, as this will give you plenty of room to pipe your line of frosting at the end, and will make the heart shape more pronounced. Make sure the frosting is touching the cupcake at all points, and that there are no gaps underneath the frosting. This is important to make sure the fillings we add next does not spill out.
~Thin down the remaining portion of frosting with guava juice, just until runny enough to drizzle/spread with a spoon. Using a small spoon, drizzle a small amount of this diluted frosting into the center of each heart you piped, spreading gently to ensure it meets up with the piped edge. Use as little frosting as possible, as you want just enough to coat the top of the cupcake so that the guava topping does not soak through.*
*If you're wondering why not simply spread the frosting over the cupcake and then do the piping, it is because I found this cupcake far too delicate to spread frosting onto without getting crumbs lifted up and mixed in. Spreading the frosting first also resulted in frosting protruding past the piped heart edge. Diluting and drizzling the frosting fixed both of these issues for me.
~Take your cooled guava topping, and using a similar technique to the one just used, take a small spoon and gently drizzle the topping into the center of the hearts. You can spread gently, but spread too much and the guava topping will begin to mix with the frosting below.
~Pat yourself on the back at this point, because you're finally done!! Here's a closeup of a cupcake if you had any questions on the steps just described.